Technical requirements
Before you can list your app on the QuickBooks App Store, it will be reviewed to ensure it meets the following technical requirements and complies with the Intuit Developer Terms. This is in addition to meeting our technical and marketing requirements.
The review process starts once you submit your app for review on the QuickBooks App Store. This applies whether you’re listing in one or more countries.
All apps listed on the QuickBooks App Store must continue to meet these requirements after publication. They’re reviewed by Intuit on an annual basis, or more frequently at Intuit’s discretion, to ensure that they continue to meet our required technical and security standards.
Note
These requirements cover the public-facing parts of your app (i.e., what’s shown to QuickBooks users).
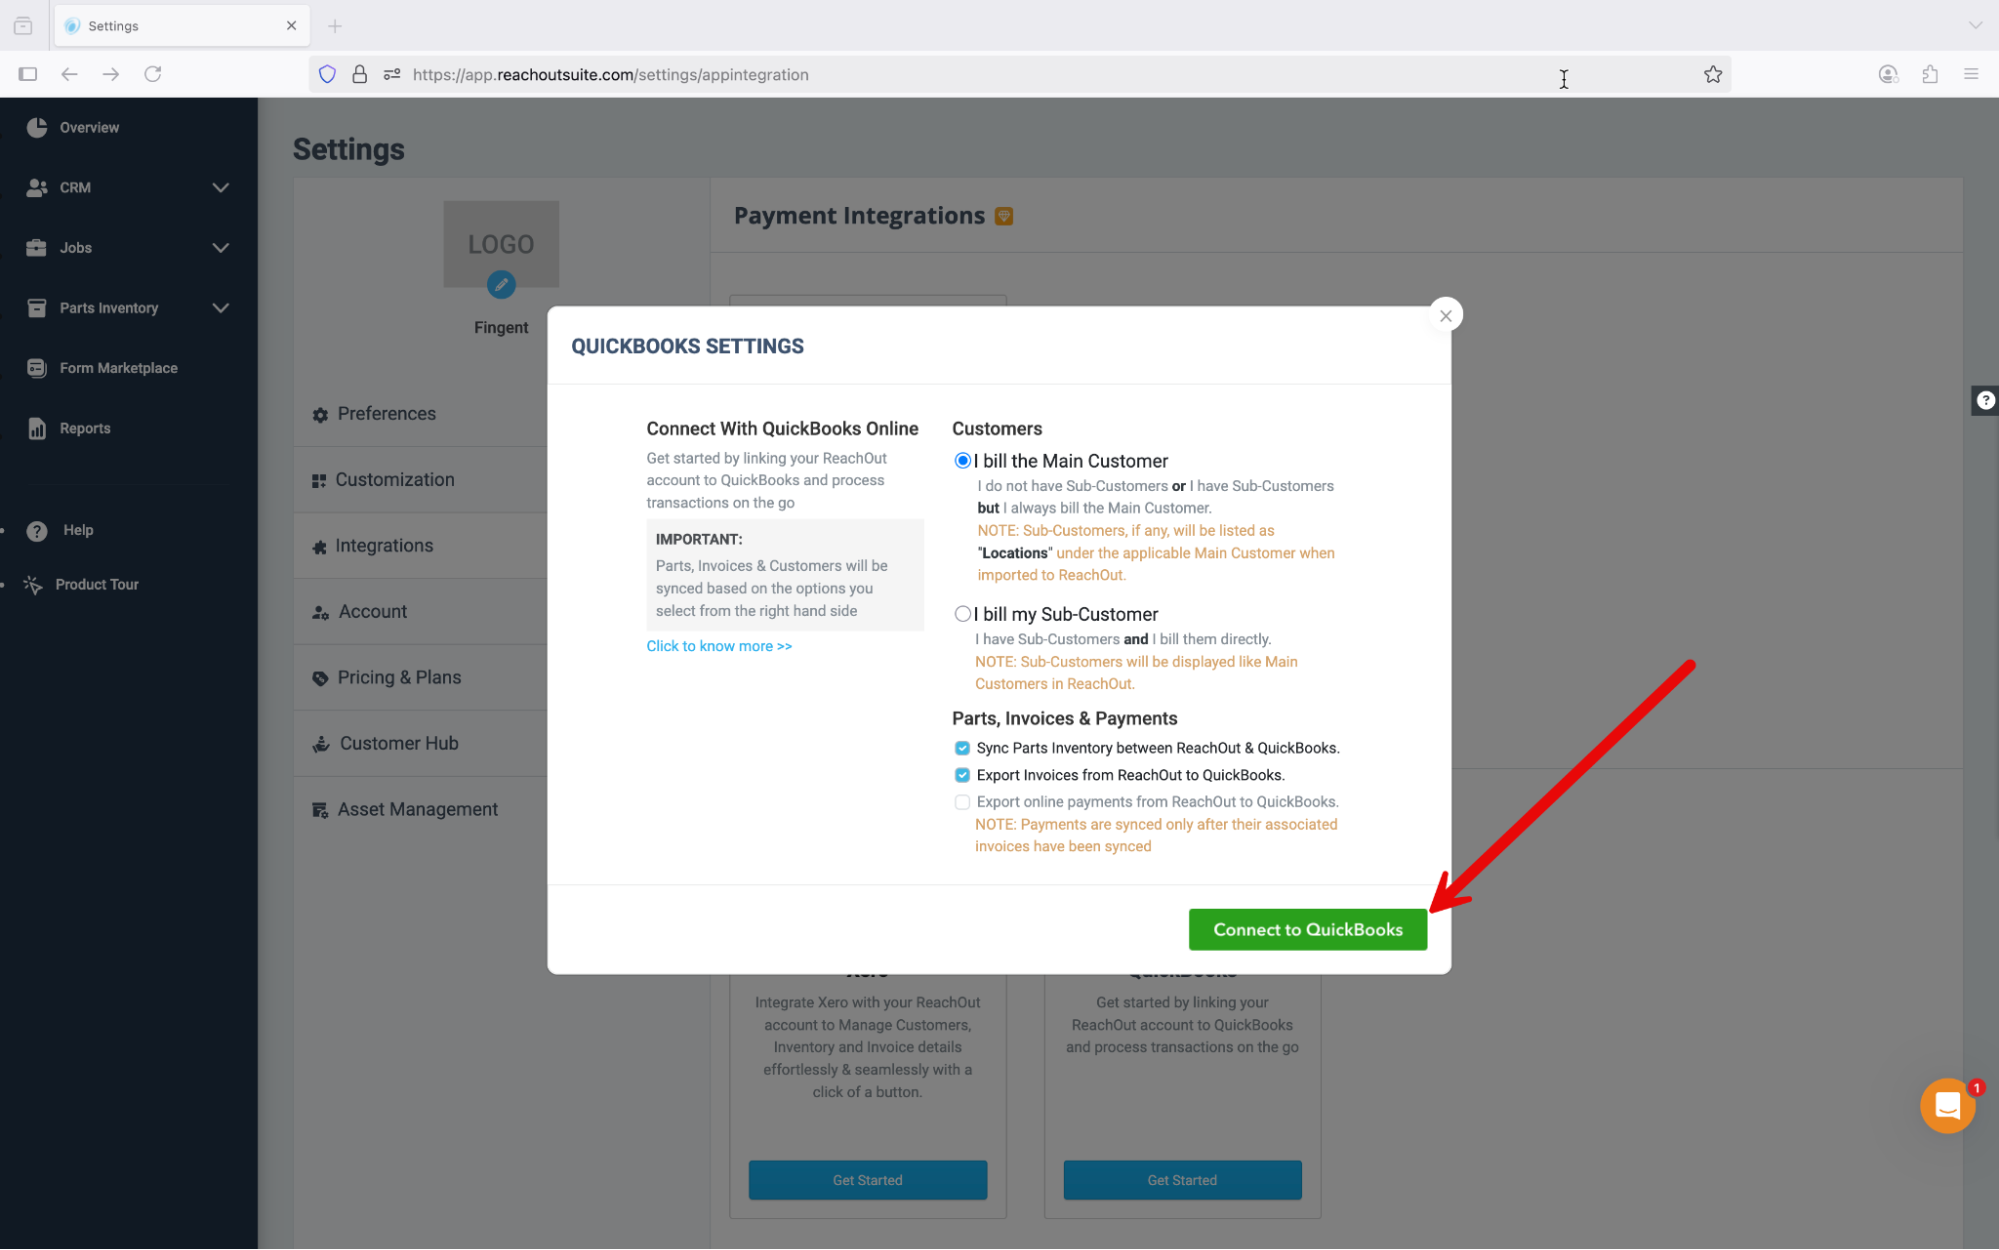
From within your app, the Connect to QuickBooks button should be visible and presented in an area where users manage their accounting software connections, as shown in the examples below. Once a connection is established, this button should be hidden. Put a disconnect button or link in its place.
Note
In this example, prior to connecting to your app, the Connect to QuickBooks button is visible:
Once connection is established, the Connect to QuickBooks button is hidden. Now, the disconnect link is visible:

Widgets, buttons, and workflows work in the latest versions of Edge, Firefox, and Chrome browsers.
All Intuit and QuickBooks logos and buttons in your app use the approved and provided images.
“Intuit” and “QuickBooks” are spelled properly, capitalized correctly, and aren’t abbreviated.
These requirements detail how your app must initiate, maintain, and reestablish connections with QuickBooks.
Only QuickBooks Online API calls are used to move and pass data between your app and QuickBooks Online. This applies to reading and writing data.
- Reading data from QuickBooks Online: Data successfully appears in the app.
- Writing data to QuickBooks Online: Data successfully appears in QuickBooks Online.
To speed up this portion of your review, submit a support ticket outlining the steps our review team should follow to test this requirement. For example:
- Link to a video explaing how to use your app
- Link to documentation with on support information
- Provide keys needed to install your app (if applicable)
- Provide account credentials to sign in to your app
- Provide step by step guidance on how to test your app’s integration with QuickBooks
- Include any additional caveats and tips
Once users connect via OAuth, the connection is maintained until users disconnect the app from their QuickBooks Online company.
Signing out of an app doesn’t disconnect a QuickBooks Online company.
Here’s a general overview for maintaining the connection:
- Users create an account in your app and connect it to their QuickBooks Online company.
- Launch a different browser.
- Users sign in to your app.
- Your app opens with the QuickBooks connection maintained.
- The “Connect to QuickBooks” button is hidden, but data service calls are working.
Users should be able to disconnect their QuickBooks Online company connection within your app. There is no mandated disconnect button or link you must use. Just ensure your solution properly calls our revoke endpoint.
The button or link label should clearly indicate it will disconnect your app from QuickBooks.
Here’s an example of a disconnect link:
When a user disconnects, you can identify their company by including realmId as a query parameter in the revoke endpoint. For example: https://myappsite.com/disconnect?realmId=
Note
These requirements are for how your app must use OpenID Connect to implement the Sign in with Intuit button.
Warning
Warning
The Sign in with Intuit button appears on all app sign-in pages. It should be clear and visible. When selected, the button launches the Intuit Sign-in page. The button should be rendered using either JavaScript or approved graphics.
Here’s an example of a Sign in with Intuit button on an app’s sign-in page:

Warning
emailVerified field and allow users access to the app only if emailVerified is true.
Otherwise, display an error message to the customer and include a link to https://accounts.intuit.com/app/account-manager/security to verify their address.
This will take them to the Sign in & security page.
An indicator beside the email address displays whether the address is verified or the verification needs to be resent.For a new unknown user (i.e., one who is connecting to your app for the first time) who selects the Sign in with Intuit button to sign in with your app without executing the OAuth authentication process:
- While signing in, before the OAuth flow is triggered, your app must check for the
emailVerifiedfield in the OpenID user profile response and allow users access to the app only ifemailVerifiedistrue. Your app should not connect to the QuickBooks app store if the email account is unverified. To get user info, see Step 6 on this page. - Display an error message to the customer and include a link to https://accounts.intuit.com/app/account-manager/security for the customer to verify their address. This will take them to the Sign in & security page. Whether the address is verified, or if the verification must be resent, will be indicated next to the address.
Note
Note
Here’s a general overview of the process:
- User selects the Sign in with Intuit button.
- User enters their user ID and password for an existing Intuit account that is not currently connected to your app.
- When the user selects Sign In, the Intuit Sign in window appears. Your app shouldn’t interfere with or change the OpenID flow.
- When the user selects the Authorize button, the authorization screen closes. The user is returned to your app in a signed-in state.
An existing connected user who selects the Sign in with Intuit button is taken to your app. Data service calls work.
Here’s a general overview of the process:
- User selects the Sign in with Intuit button.
- User enters their user ID and password for an existing Intuit account that is currently connected to your app.
- When the user selects Sign In, they go into your app without entering additional sign-in credentials.
- The Connect to QuickBooks button is hidden and all data service calls work.
Note
These steps explain the different ways users can find and connect to your app.
If your app uses Intuit Single Sign-on, we’ll go over ways to design your app experience that allow users to navigate the QuickBooks App Store. Note: If your app doesn’t use Intuit Single Sign-on, skip to Section 5.
The user can go to the Apps tab in QuickBooks Online to find apps and manage existing connections.

If a user is signed in, on the My Apps tab in the QuickBooks App Store there are four actions available for managing your app:
- Launch: This links to your app’s launch URL, as defined by your app’s settings. This applies to apps listed on the QuickBooks App Store. It links to the page that implements Intuit Single Sign-on and allows users to sign in automatically.
- Support: We set this up for you. No action required.
- Disconnect: This links to your app’s disconnect URL, as defined by your app’s settings. Users are directed to this page after your app disconnects from their QuickBooks company. This page implements Intuit single sign-on and allows users to sign in automatically. It also implements the Connect to QuickBooks button so that users can reconnect as needed.
- Write a review: We set this up for you. It let’s users quickly write a review for your app. Completed reviews will show up on your app’s page in teh QuickBooks App Store.
On the QuickBooks App Store, new users can sign up for a free trial of your app if they select the Get integration now button.
To see how the free trial process works:
- Make sure you’re not currently signed in to the QuickBooks App Store. Sign out of your app and the app store. Close your browser and start from a fresh tab.
- Go to the Marketplace settings page.
- Select the Connect Request URL to test the link.
- On the Intuit Sign-in page, enter a user ID and password for an existing Intuit account, but NOT one that’s currently connected to your app.
- If prompted, select a QuickBooks product.
- If prompted, choose a company file.
- Select the Authorize button.

The free trial starts and the browser redirects to the dashboard page/parent window of your app that shows the integrated QuickBooks data, or a message about the integration.
Requirements for free trial setup
- Apps automatically provision users’ accounts.
- Landing page doesn’t prompt to create or enter a password (unless your app isn’t implementing Intuit Single Sign-On).
- Landing page doesn’t ask for any information that OpenID Connect provides (name, email, realm ID, client ID, client secret) or the QuickBooks Online API provides (company name, address, phone number, and so on).
- Don’t ask users to select a plan or enter payment info.
- Don’t show the Connect to QuickBooks button - the user is already connected.
If a user is signed in to the QuickBooks App Store but not your app, they can sign in to your app without being asked for sign-in credentials.
- Make sure you’re not currently signed in to the QuickBooks App Store. Sign out of your app and the app store. Close your browser and start from a fresh tab.
- Go to MyApps.
- Sign in to the QuickBooks App Store with an account that’s connected to your app.
This redirects you to the My Integration tab of the Apps menu in QuickBooks Online. Find and launch your app. It should open without prompting users for sign-in credentials.
If the user hasn’t signed out of your app or the QuickBooks App Store, your app should be able to launch from the QuickBooks App store without asking for sign-in credentials.
- Make sure you’re signed in to your app.
- Go to MyApps.
- Sign in to the QuickBooks App Store.
This redirects you to the My Integration tab of the Apps menu in QuickBooks Online. Find and launch your app. It should open without prompting users for sign-in credentials.
A user can disconnect your app (and revoke access) from their QuickBooks Online company from the QuickBooks App Store.
- Make sure you’re not currently signed in to the QuickBooks App Store. Sign out of your app and the app store. Close your browser and start from a fresh tab.
- Go to MyApps.
- You should be redirected to the My Integration tab of the Apps menu in QuickBooks Online.
- From the My Integration tab, find your app and select the Disconnect link.
- Follow the on-screen steps to confirm and disconnect the app.
This disconnects your app from the user’s QuickBooks Online company. The UI refreshes so the user can reconnect if necessary.
- Your app no longer appears in the My Apps tab of the Apps menu in QuickBooks Online.
- User gets redirected to a disconnect landing page within your app.
- The disconnect landing page is OpenID-enabled.
- OAuth tokens are invalidated. Your app can no longer make data service calls.
In this disconnected state, the Connect to QuickBooks button should reappear and the Disconnect link should be hidden.
Note
This section only applies to apps that don’t implement Intuit Single Sign-on.
Implement the Learn More button in place of the Get integration now button on your app’s QuickBooks App Store listing. Selecting the “Learn More” button redirects users to one of your app’s webpages.
The URL should lead to a page about your app, including a description of what it does, guides for how to use it, and info about how it integrates with QuickBooks Online.
The launch URL goes directly to your app’s sign-in page.
Users can disconnect your app from the QuickBooks App Store. The Disconnect URL should be a static page that informs the user that the connection between your app and their QuickBooks Online company is terminated, and provides steps for how to reconnect.
This section only applies if your app is intended for use with QuickBooks Online Accountant.
Your app needs to be set up so it can sync data for users with multiple QuickBooks Online companies. This is sometimes called “Accountant-ready.”
Learn more about supporting users with multiple QuickBooks Online companies for details.
Note
Your app needs to support these scenarios:
- One user can subscribe two or more separate QuickBooks Online companies to your app successfully. This includes any live QuickBooks Online company, including free trials. This also applies to your sandbox company.
- The multiple companies must belong to the same QuickBooks admin user.
- The user can launch your app from any or all companies.
- The user can disconnect your app from any or all companies. In this case, the user lands in the right context in your app.
Note
Set up a testing environment
- Create two QuickBooks Online companies using the same Intuit account. Let’s call them Company A and Company B.
- If you one of the two is a trial company, select Sign in instead of Create account on the first page.
- Test the steps with Company A and Company B separately.
Note
Test connecting to Company A when you’re not subscribed to your app
- Sign in to Company A.
- Go to the Apps tab in QuickBooks Online.
- Select and subscribe to your app.
- If your app isn’t published yet, you can test the following link: https://appcenter.intuit.com/app/connect/oauth2/request?appId=<appId>. You can find the app Id in the Production tab of your app’s settings.
- You should land in your app using Company A to establish the connection between QuickBooks Online and your app.
Test launching your app for Company A, after you’ve subscribed
- Sign in to Company A.
- Go to the Apps tab in QuickBooks Online.
- Select and launch your app.
- You should land in your app using Company A.
Test disconnecting from Company A
- Sign in to Company A.
- Go to the Apps tab in QuickBooks Online.
- Select Disconnect and follow the steps to disconnect.
- You should land in your app using Company A.
Note
Test connecting to Company B
Follow these same steps for Company B. Test the connection in an unsubscribed state, launch your app after you’ve subscribed, and then disconnect it.
At each phase, everything should be performed and completed by Company B.
If this is successful, your app is able to handle multiple QuickBooks Online companies for the same user.
We recommend you provide a page that shows users all of their active QuickBooks Online companies. This enhances their experience and gives them a convenient way to manage their connections.
- Provide a disconnect button for each company listed so users can easily disconnect them from your app.
- Provide an Add new company button at the bottom of the page so users can connect additional companies if required. Selecting this button opens the Connect to QuickBooks flow. New companies should appear on the list after users connect them and the interface refreshes.


Prior to starting the technical review process, if your app is used in one or more of the following industries, Intuit will perform an additional review. This ensures you app is compliant in that industry:
- Lending
- Insurance
- Investment and financial planning
- Payments and money movement